
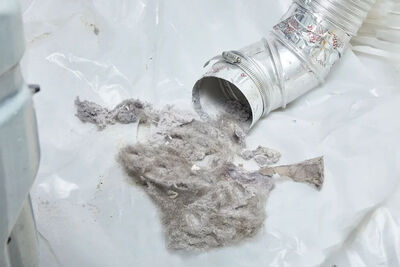
Maintaining your clothes dryer is more than just a matter of convenience—it’s a crucial safety measure. A clogged dryer vent not only slows down your laundry routine but also poses a serious fire hazard. However, fear not! With our comprehensive guide to dryer vent cleaning, you’ll learn how to keep your appliance running smoothly and safely while saving both time and money.
Understanding the importance of regular maintenance, we’ll take you step-by-step through the process of cleaning your dryer vent, ensuring your appliance operates efficiently and your home remains secure. From unplugging the dryer to safely reattaching the vent hose, we’ve got you covered. Let’s dive in!
Step 1: Power Down Safely
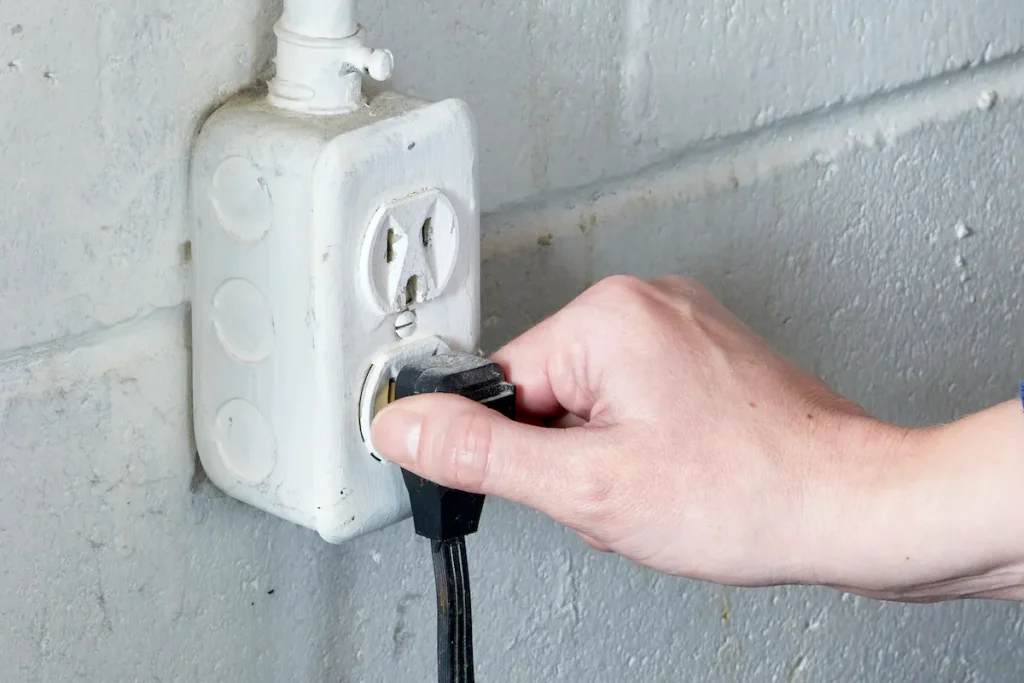
Before diving into any maintenance task, safety should always come first. Begin by disconnecting the power to your dryer. For electric dryers, simply unplug the unit from the outlet. If you have a gas dryer, be sure to close the gas valve as well. Remember, if the appliance is too heavy to move alone, don’t hesitate to enlist the help of a friend or family member to prevent any injuries.
Step 2: Locate and Disconnect the Vent Hose
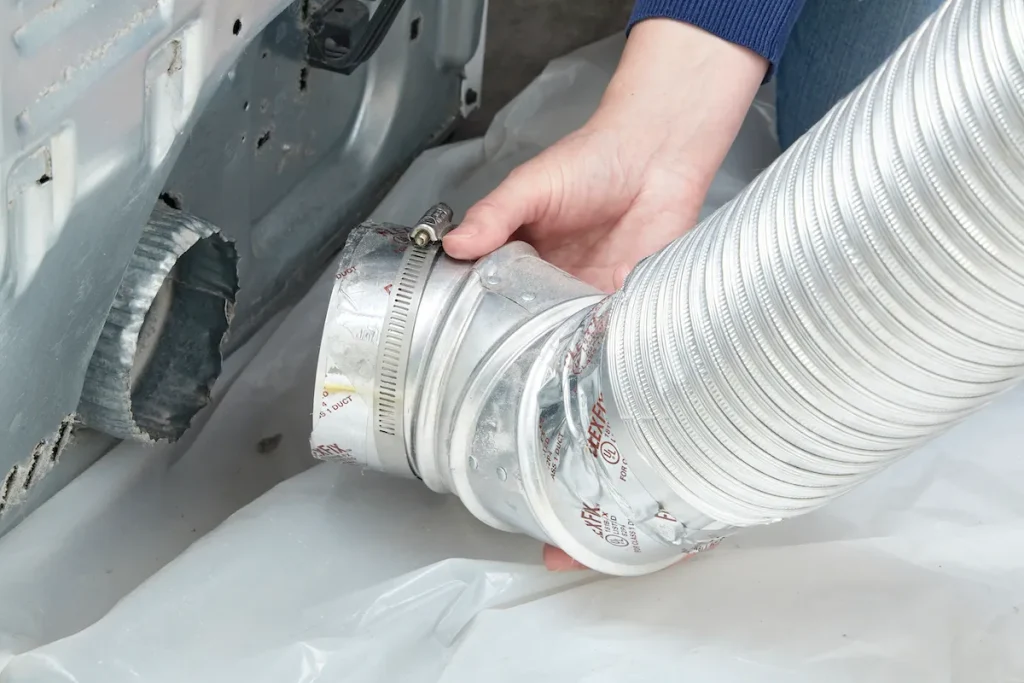
Identifying your dryer vent is the next crucial step. Typically, it’s a thick silver or white hose located at the back of the dryer. Once located, carefully detach the vent hose using a screwdriver to loosen any clamps holding it in place. Depending on your setup, you may need to detach the hose from both the dryer and the wall.
see next page
ADVERTISEMENT
ADVERTISEMENT
