
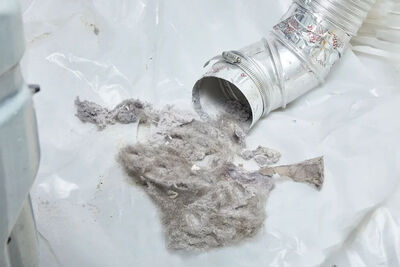
Step 3: Thoroughly Clean the Vent Hose
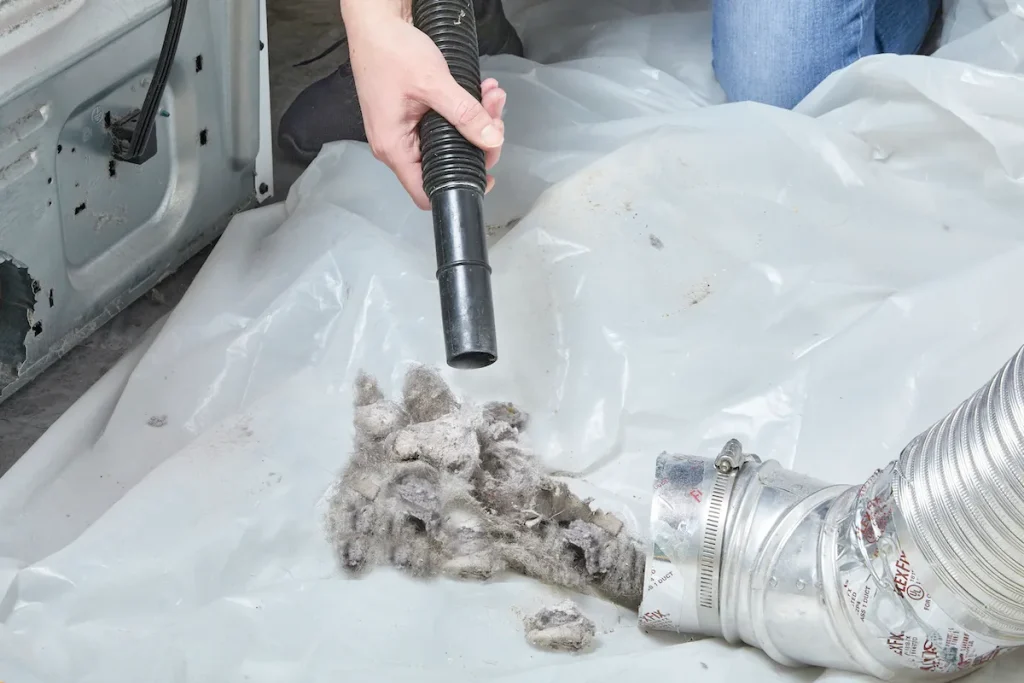
With the vent hose disconnected, it’s time to tackle the buildup of lint and debris. You have several options for effectively removing the blockage:
- Utilize a dryer vent cleaning brush to break up the clog, ensuring a thorough clean.
- Employ the hose attachment on your vacuum cleaner or shop vac to suction out any clumps of lint and hair.
- Consider using a leaf blower to carefully blow out excess debris, ensuring to direct the airflow into a garbage bag to contain the mess.
Step 4: Dispose of Debris and Reattach the Hose
Once the vent hose is clean, it’s essential to dispose of the collected debris responsibly. Whether inside or outside your home, ensure all debris is properly cleaned up. Then, reattach the hose to the dryer and securely tighten any clamps. Gently slide the dryer back into its original position against the wall.
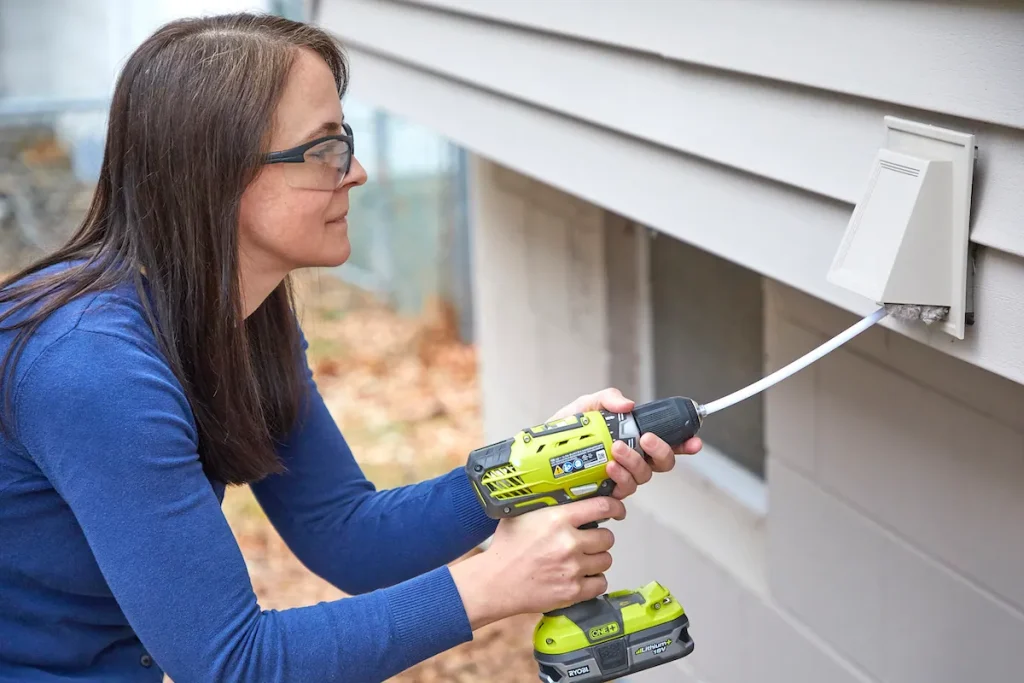
Step 5: Clean the Exterior Vent Cover
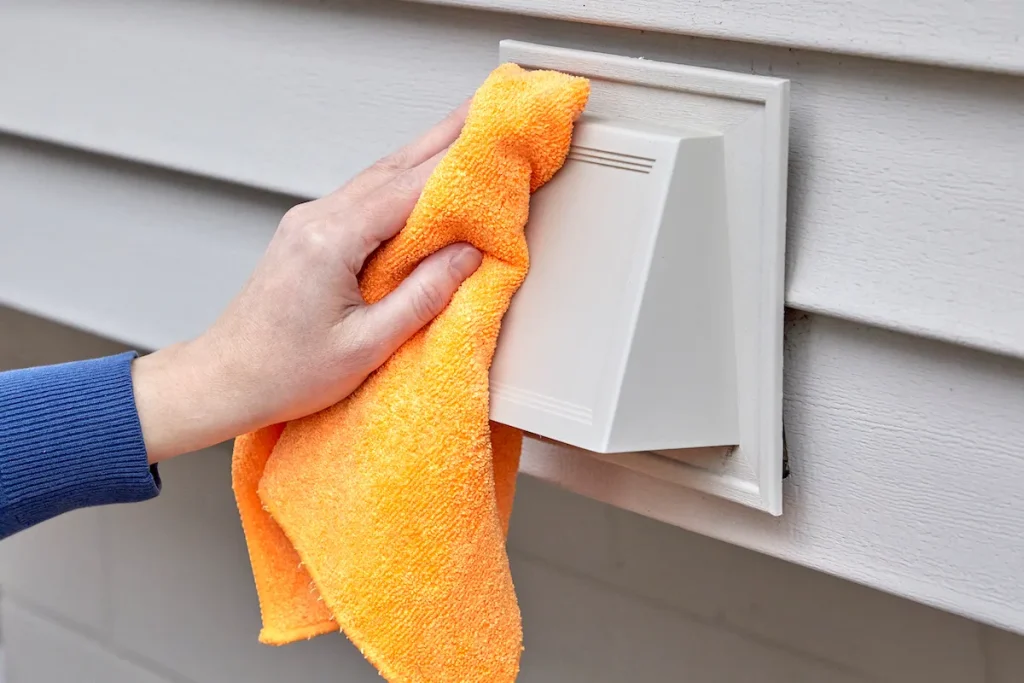
Don’t forget about the exterior vent cover! Clear any accumulated lint and debris using your hands or a vacuum attachment. Wipe down the vent cover with a microfiber cloth to ensure it’s completely clean and free from obstructions.
Conclusion:
Congratulations! You’ve successfully mastered the art of dryer vent cleaning, ensuring your appliance operates efficiently and your home remains safe from potential fire hazards. By following these simple steps regularly, you can enjoy peace of mind knowing your dryer is functioning at its best.
Remember, safety should always be your top priority when performing maintenance tasks on any appliance. With proper care and maintenance, you can extend the lifespan of your dryer while keeping your home safe and secure. Happy drying!
ADVERTISEMENT
