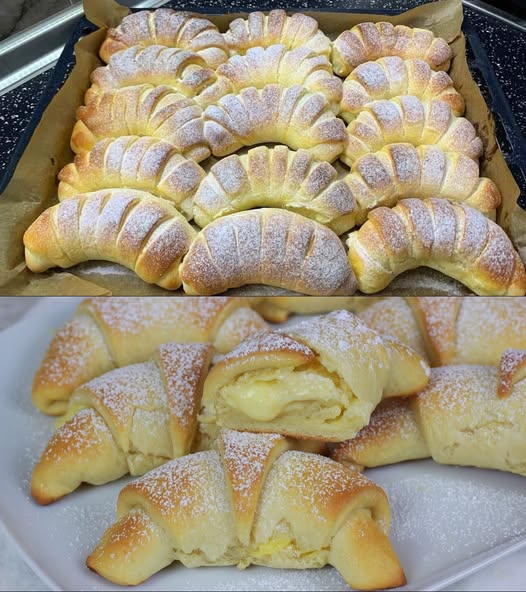
Introduction: In the fast-paced world we live in, sometimes the best treats are the simplest ones. Grandma’s Pudding Cones are a nostalgic delight that takes just 10 minutes to prepare, making them the perfect quick snack for any occasion. This easy recipe combines the rich, creamy texture of pudding with the crunch of a cone, creating a mouthwatering dessert that will remind you of childhood memories while satisfying your sweet tooth. Whether you’re hosting a party, enjoying a family movie night, or just craving a light treat, these pudding cones are the perfect option.
Ingredients:
2 cups of instant vanilla pudding mix
2 ½ cups of cold milk
12 ice cream cones (regular or waffle cones)
1 cup of whipped cream
½ cup of chocolate chips (optional)
¼ cup of crushed nuts (optional)
1 tablespoon of sprinkles (optional)
Fresh fruit for topping (such as berries or banana slices, optional)
Directions:
Prepare the pudding: In a large mixing bowl, combine the instant vanilla pudding mix with the cold milk. Whisk together for 2 minutes, or until the pudding thickens.
Fill the cones: Place the ice cream cones in a standing position on a tray or plate. Spoon the thickened pudding into each cone, filling them up to the top.
Top with whipped cream: Add a generous dollop of whipped cream on top of the pudding in each cone.
Add toppings: For extra flavor and texture, sprinkle chocolate chips, crushed nuts, and sprinkles on top. You can also garnish with fresh fruit for a refreshing touch.
Chill (optional): While the pudding cones can be enjoyed immediately, letting them chill in the fridge for about 15-20 minutes enhances the flavors.
Serving and Storage Tips:
Serving: Serve the pudding cones right away for the best texture and flavor. They’re perfect for an after-school snack, a quick dessert, or a fun treat at a party.
Storage: Store any leftover pudding cones in the fridge. To avoid soggy cones, wrap them individually in plastic wrap or foil, ensuring the pudding doesn’t spill over. They will stay fresh for up to 2 days. If the cones start to soften, you can also serve them with a spoon.
Variations:<!–nextpage–>
Chocolate Pudding Cones: Swap out the vanilla pudding mix for chocolate pudding to create a rich, decadent version.
Fruit Pudding Cones: Add fresh fruit to the pudding mixture itself, such as diced strawberries or mangoes, for a fruity twist.
Caramel Drizzle: Top the whipped cream with a drizzle of caramel sauce for a sweet, gooey addition.
Gluten-Free Version: Use gluten-free ice cream cones to make the recipe suitable for those with dietary restrictions.
FAQ:
Can I use homemade pudding instead of instant pudding mix? Yes, homemade pudding will work perfectly. Simply make it in advance and let it cool to room temperature before filling the cones.
Can I use other types of cones? Absolutely! You can use sugar cones, waffle cones, or even mini cones. The choice is yours, depending on your preference.
How long can I store the pudding cones? You can store the cones in the fridge for up to 2 days. However, the cones may soften over time, so it’s best to enjoy them as soon as possible for the best texture.
Can I make these ahead of time? You can prepare the pudding and fill the cones in advance. However, it’s best to add the whipped cream and toppings right before serving to keep them fresh.
Enjoy these delicious Grandma’s Pudding Cones as a treat that’s easy to prepare and always a crowd-pleaser!
4o mini
ADVERTISEMENT

