
Introduction:
Toilet blocks are essential for maintaining a fresh and clean bathroom, but installing one incorrectly—especially upside down—can hinder its performance and reduce its lifespan. Many people unknowingly make this mistake, which can lead to wasted product and a less-than-fresh toilet. In this guide, we’ll show you the right way to install a toilet block, share tips for better results, and answer your most frequently asked questions.
Ingredients (Materials You’ll Need):
A new toilet block (preferably the clip-on variety for easy installation).
Clean hands or gloves for hygiene.
A clean toilet bowl rim (use a cloth or tissue to wipe down if needed).
Directions:
Unpack the Block:
Open the packaging carefully to avoid spilling any liquid or damaging the block.
Inspect the Clip:
Most toilet blocks come with a plastic holder or clip. Check for the correct orientation—the hook should be positioned to hang securely over the rim of the toilet bowl.
Position Correctly:
Slide the clip onto the rim of the toilet bowl, ensuring the block is on the inside of the bowl.
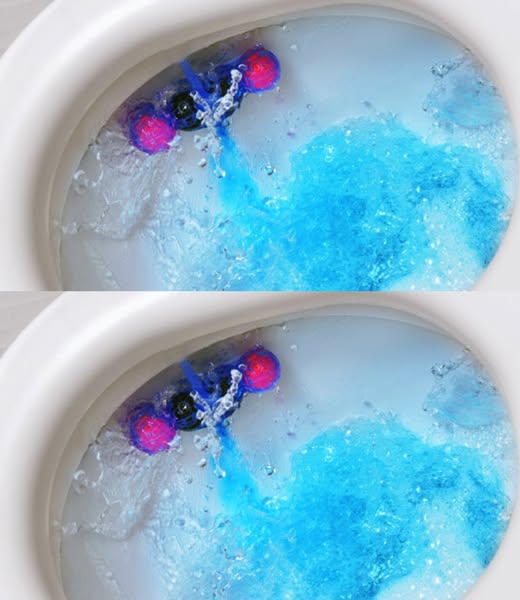
Make sure the block is positioned where the flush water flows, allowing it to disperse effectively.
Avoid Upside-Down Placement:
Ensure the block is hanging with the active cleaning portion facing downward, not flipped upside down. An upside-down block won’t dissolve properly and may cause it to fall out prematurely.
Test with a Flush:
Flush the toilet to ensure the block is secure and water flows over it evenly. Adjust if necessary.
Serving and Storage Tips:
Storage: Keep unused blocks in a cool, dry place, away from direct sunlight and moisture.
Replacement: Replace the block once it has fully dissolved or lost its cleaning effectiveness (usually after 3-4 weeks, depending on usage).
Variations:
ADVERTISEMENT
